Tuesday 1 July 2014

T-Shirt Making and Photos

For this assignment I decidid to create a T-Shirt with the Fratellis logo on and which also had a small guitar logo on.

I chose this design as it was something I had an interest in and I also feel like band merch is something that a lot of people are interested in. I used spray paint to use a cut out of The Fratellis logo to spray the logo on the shirt in black spray and then used a heat press to heat transfer the logo of the design.

I got Josh to model my shirt for me as it fit him well, and wasn't to overly baggy.


For this assignment if I was to redo it I would probably make the T-shirt spraying a bit better and clearer, and maybe try multiple designs rather than just the one design.


I enjoyed this assignment as it was a chance to do something different in photography and the tshirt making was a fun concept which I think the whole class enjoyed as apose to just the standard taking an image of something that was given in the brief.

Thursday 26 June 2014

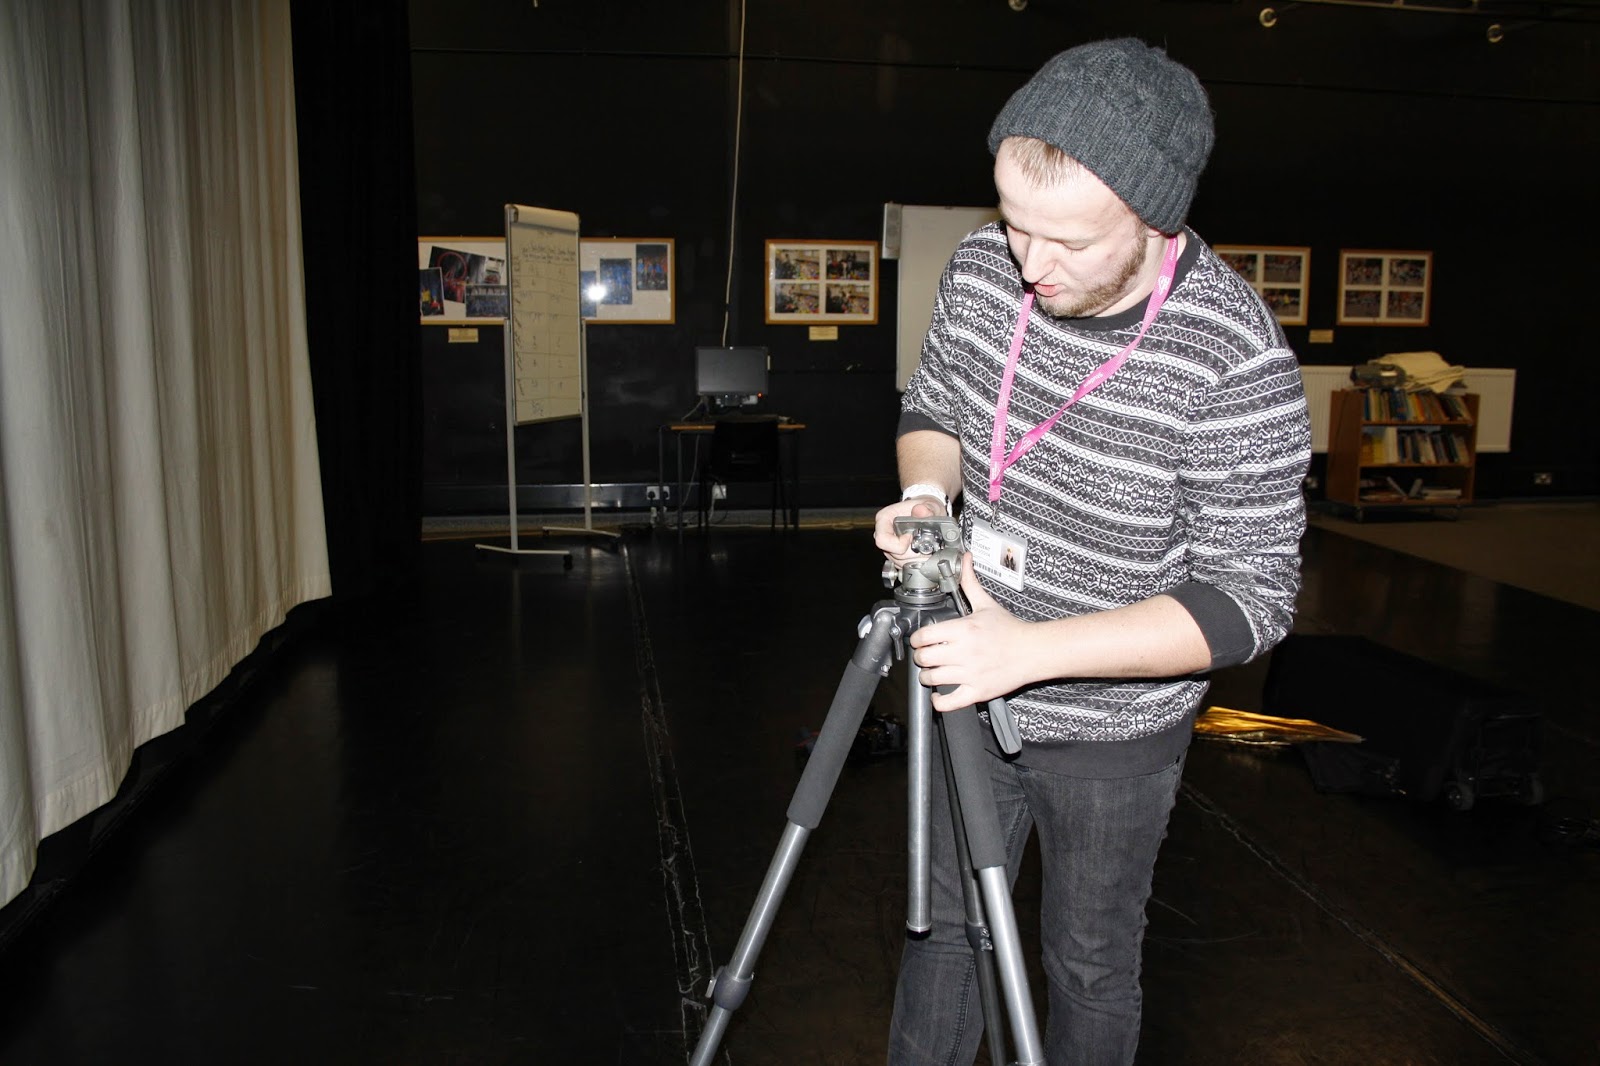
We have been asked to use the location lighting kit to take images with, to experiment with shading and lighting. The first image is of me using the Tripod, this is used to keep the camera from being shaky and not capturing a steady image. it is also useful as the photographer just has to press the shutter button and image is taken. It is also a useful tool as the tripod can be extended to any length as the legs on it can go any length from 1 and a half metre's.


The next image is of the whole set up of the location lighting, with the big silver umbrella in the left hand corner giving the light in the image, this will give the image its brightness aginst the dark background. Youu can also see the light in the right corner of the image, this is another umbrella that gives the flash of light when the shutter is pressed. You can also see the camera in the image which is hooked up too the lights.


This is the control panel on the lights which lets you alter the amount of light that is given off when the flash goes off. In ths image it is on 2.2 which is the highest setting, you can turn it down for minimal light.

Map My Walk: Tamworth Bar Crawl

When were asked to make a walk using different social netowrking sites in order to guide people through the walk, they would have to follow clues in order to find out where to go. they would have to take photos of each location where they were and upload it to the social media site. me and my team partner, decided to do the walk in Tamworth where we live.
this is the airview picture of where we have based the route, the red line is the route where the people taking the walk would follow.


We used facebook in order to tell people that the walk was happening, we invited our friends on the site to join in also. Here is the page that we made. I have Screen shotted the page so that you can see what is on the page and exactly what and where the walkers had to go and do.


We did not follow the people on the walk, but we kept in touch by phone in case they got lost and needed our help. they did not need any help finding where they were going as our instructions were straight forward. one person on the walk said they did not have any interent on their phone in order to follow the route so they had to share phones.


Another app we used was Map My Walk, this allowed us to make the route and then for others users on the app to follow the route which we had posted.

 Here is the print screen from the GPS system which is used on the MapMyWalk App:


Evaluations:
We asked the groups involved in this project to answer a few evaluation questions so we know what they thought of the walk, everyone said that they enjoyed it however we wanted to know exactly what we could make better for last time.

What did you enjoy most about the walk?
  • The best part about the walk was finding where to go next, i liked the element of surprise as to where we were supposed to go next.
  • Another element of the walk which i enjoyed was having the different drinks in the different bars, i thought the walk would be boring just walking around Tamworth looking at different monuments but adding the drinks into things made the walk 100% better.
  • This walk was really good, i enjoyed most finding where to go using different technologies this added a different element to a simple walk around a town.
How did you cope with using the technology?
  • i enjoyed using the technology to find where we were going next on the walk, although we only had two phones to do it on, it was still a good experience.
  • It was hard to do because we only had two phones, if we had a phone each then a few of us could use the Facebook app and others the Map My Walk app.
  • It was easy to use and navigate around the apps, although the amount of phones we had with an internet connection was low, it was still a good experience using the apps.

What would you change about the walk?
  • I would change the amount of technology that we used, three types of technology on two phones was hard to juggle; especially when three on the phones did not have internet access. To make it better the places we visit would need internet access or we didn't use the technology on our phones, we just took the photos on a camera and uploaded online when we had finished the walk.
  • I would try and do more locations over the space of the town, the places we did visit where more or less on the same street. It would be better if the walk next time was spread out over a larger area.
  • I wouldn't change anything about the walk, i really enjoyed it.

Tuesday 1 May 2012

Final Animation Video


This is a short film I have created using Final Cut Pro of a animation I have created outdoors out of just using leaves. The animation shows a circle of leaves grouping in and out together and the time frame gap is not too large so the film does move fairly quickly, but not overly quick.

We used a Cannon 500D to shoot the photo's used for the video and used a tripod to steady the Camera to make sure that all the photo's are steady and aren't out of sync with each other

Here are some photo's which I have taken during the editing process -


These photo's show the different thing's I did throughout editing from importing the image's to cutting them down and linking them all together to make the film.

Tuesday 24 April 2012

Photography Evaluation

Throughout the course of doing Photography, we have done different things from doing different David Hockney shots, and studio shots as well as going out and taking photo's. The camera's we have mainly used are the Cannon 400D and the Cannon 500D as there is many of these and enough to go around the class for everyone to use. After taking the photo's we have done various things from using Photoshop for some of them to edit them before putting them on blogger, but with most of them we have just got them off the camera and then uploaded them to blogger and then explained what they represent and wrote about them.


Different Subjects We Have Done In Photography
  • David Hockney Work - Taking 6 photo's of a location and putting them all together to make one large photo
  • Studio work - different studio sessions such as using lights to capture the light in a photo and make different shapes and pictures with it and also we have done just normal portrait work.
  • Halloween shoot - a few people got done in makeup to make them selves look sort of scary in a horror way, and then we took photo's to edit into a poster for a horror film
Equipment Used During Photography sessions
  • Cannon 500D and Cannon 400D
  • Tripod
  • Photography Studio
  • Photoshop
  • Lights in the Studio
  • Flash Lights 
Places Where We Done Photography


The majority of photography work that I did was produced in the studio for photography, apart from a few pieces which we done outside such as the 6 picture David Hockney work. In the studio we did mainly portrait work of our classmates and then edited them in either black or white or made the pictures more vibrant. In the studio all the equipment needed was there such as camera, a tripod stand, honeycomb and other various lighting equipment. The lighting equipment we used made our photos turn out a lot better in quality, and the Cannon we used in the studio produced much better quality photos then the Cannon's we used when we went out. When we did go out we used tripods and a Cannon 400D or 500D, the main place we did work outside was around Burton Town Center and near the park and church. We chose these areas because there was a lot of nature around the church/park area and also in the town we could capture everyday life and incorporate it into our photos.


Comparing my work I produced compared to work that I did research on, my work is kind of similar, but still is not up to the standard of work that the famous photographers did, to get it to the standard of quality of the photographers such as David Hockney, Rankin etc, I would have to invest a lot more time and concentration into my photography work, try and find better areas to photograph and try to get the best shot I could instead of just rushing myself to complete the work quickly.


Overall I did enjoy the photography work that we did, and it was fun, but it was not really what I expected from the photography side of the course, I thought it would be more along the lines of taking photo's based on what you wanted too, editing them then putting them into a sketch book. I would move on to level 3 Photography based on some of the work we have done, but some of the projects we have done would put me off choosing the course if it was to be continued on level 3. The experience I have got from photography has been helpful because I can incorporate it into other work I do such as Journalism for example. I hope that the work and experience I have done and got from photography will help me in the future with work and that it will come in useful.


To improve on work I have done I could put a lot more effort and time into my practical work, as I only really put a load of effort into the written side of the course and the research side. I would also try and improve my work up to a distinction level by getting better shots for portrait photo's and finding better places to take pictures, nature wise, for the outside section of the photography course.


Tuesday 27 March 2012

Animation Evaluation

Throughout the course of doing Animation, we have done many things from doing animation with different dolls/toys to using actual people. We have mainly used the Cannon 500D to take the majority of our photo's which we have used in our Animation videos. After taking the photo's we have then turned the still images into a film by using Final Cut Pro and then uploading it to Youtube.

Different Subjects We Have Done In Animation

  • Animation with Toys that were brought in
  • Using people and making a animation video by taking photo's of every movement which was done
Equipment Used During Animation Process
  • Cannon 500D
  • Tripod
  • Final Cut Pro
  • Lighting when we was in the studio
Places Where We Done Animation

The majority of the animation work that I did was either produced in the studio, or at the park in Burton. I chose these two places because the studio has all the equipment there I needed to use and also had the lighting equipment so I can make it look better, and the park was a place which was easy accessible and had different objects which could be used to incorporate into animation, such as going on the swings/slide and taking a quick photo of every movement which happened.

Comparing my work to the stuff that I researched, I can say that my work is no where near as good as what the videos are which I posted in my research, but to get it to that standard of quality I would need to invest a lot more hours into doing the animation, being more careful when it comes to getting the shots and making sure the time gap isn't too big in the shots either.

Overall I think that the Animation part of the course was fun, but it got tedious a lot of the time and got pretty boring, If I got asked to do this part of the course again by choice I would turn down the offer to do it, I think this is the part of photography which I dislike the most. The experience from doing animation has been good thing to get though and I am glad I have the experience from doing it. Hopefully this will help me in future pieces of work I do wether it relates to photography or not.

To improve on the work I have done,  I could put more effort into the practical side of the work, as I only seem to put more effort into the research side of animation and not the practical and I would try to get my work to a better grade and try to work towards a distinction

Thursday 9 February 2012

Research On Different Photographers

STEVE PYKE


These are a few images that have been taken and edited by the photographer Steve Pyke. As you can tell from these examples most of his work is based in black and white, well most of the images I found of his are all black and white. He uses different lighting in different ways, whether its making one half on the picture darker then the other half or making the picture more light then the other.


TOM HUNTER


Tom Hunter goes for a different approach compared to Steve Pyke on his work, and makes his work bright and colourful as you can see from the examples, and he generally tries to go for natural situations, so it looks all normal, apart from the image on the left which I found what was a bit unusual, which shows he does do extraordinary things with his work. He uses bright lighting and bold colours. He more than likely in-hances the colour contrast when he is editing his photography.


RICHARD AVEDON


Richard Avedon is also another photographer who likes to use black and white photographs for most of his work. From the examples above and from a lot of the images I found when I searched his name on Google as you can see he likes to do strange things for his photo's, such as making people go in weird positions or form weird shapes and do strange things, quite similar to Steve Pyke with how he edit's and use's lighting.


DAVID BAILEY


David Bailey uses a similar technique to Richard Avedon and Steve Pyke by using the same lighting technique and by making all his photo's black and white. From the examples above you can see that he likes to make his models pull strange faces, and if you looked into more of his work you would see this show off on his other pictures and more than these two. 


RANKIN


Rankin is another photographer who makes his pictures a lot more different compared to others as he uses a lot of make up and does odd things to the model. He uses quite bold colours that stand out quite a lot and takes quite extraordinary photos. Like some of the other photos the photographer more than likely in-hances the contrast on the photo's he takes when he's editing them.


NADAV KANDER


Nadav Kander is also quite a big photographer, but from most of the stuff I have researched on him, the majority of his work is based on locations, rather then models. It looks like he doesn't do much editing on his pictures apart from even make the colours more brighter or duller to add extra effect to his work.